Remark: This blogpost belongs to a series of posts explaining Royal Server and the new connection types we have introduced with Royal TS V3 (for Windows) and Royal TSX V2 (for OS X).
Here’s a complete list of our blogpost series:
- Using Royal TS/X to access Royal Server
- Royal Server configuration
- Royal Server – Terminal Services management
- Royal Server – Hyper-V Management (this post)
- Royal Server – Windows Events Management
- Royal Server – Windows Services Management
- Royal Server – Windows ProcessesManagement
Use Case
From our Royal TS X client, you can now start/stop/restart Hyper-V instances or quickly connect to them via RDP.
Hyper-V management using Royal TSX and Royal Server
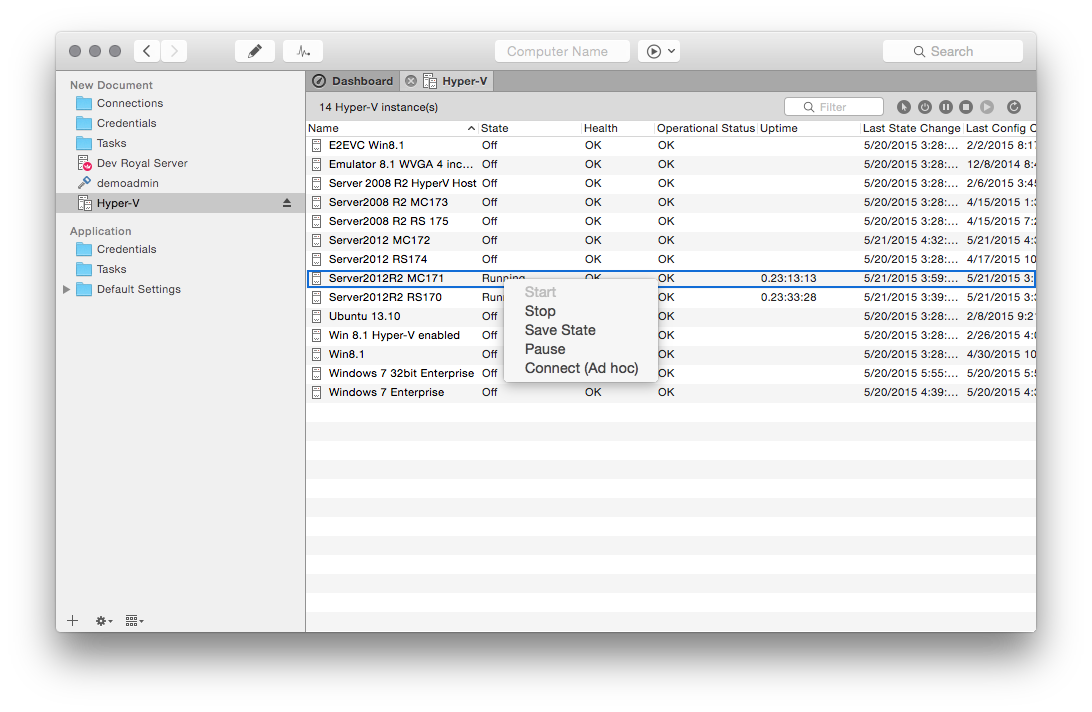
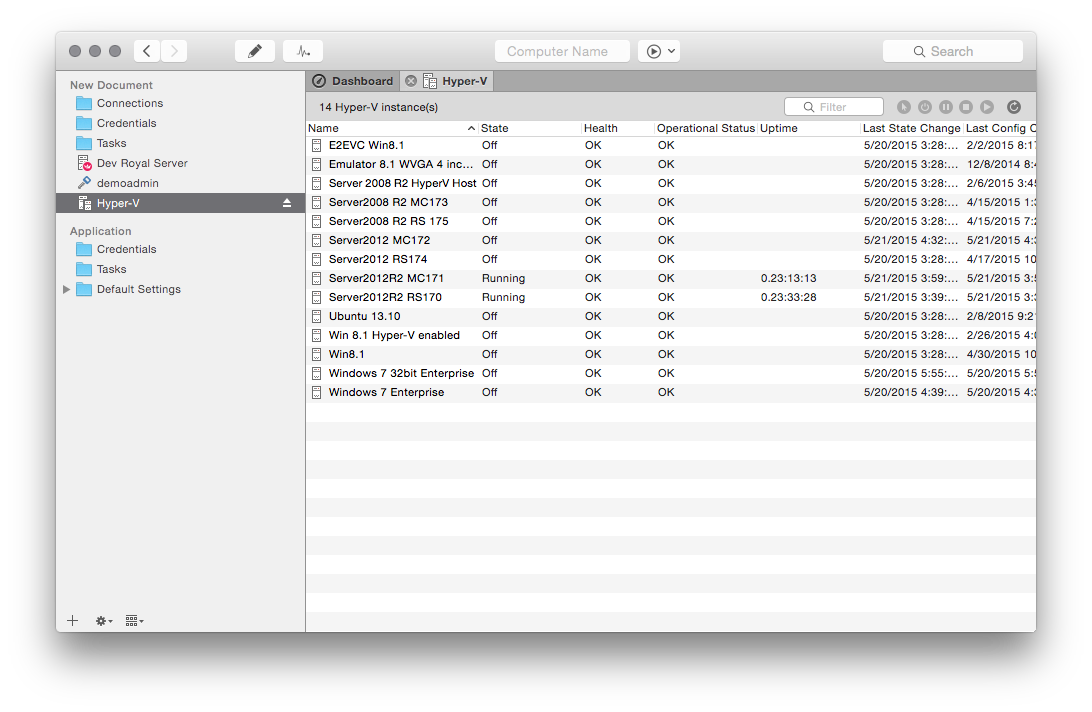
Royal TSX V2 (for OS X) is introducing basic Hyper-V management! You can list the Hyper-V instances and act on them, including:
- Start/Shut down an instance
- Save the state of an instance
- Pause an instance
- Connect ad hoc to an instance or the Hyper-V console
- Create a Remote Desktop connection based on the selected instance
Additionally, this connection type is also used in the RDP dashboards for Royal TS/X (together with the Terminal Services management).
Create a Hyper-V connection in Royal TSX and Royal Server
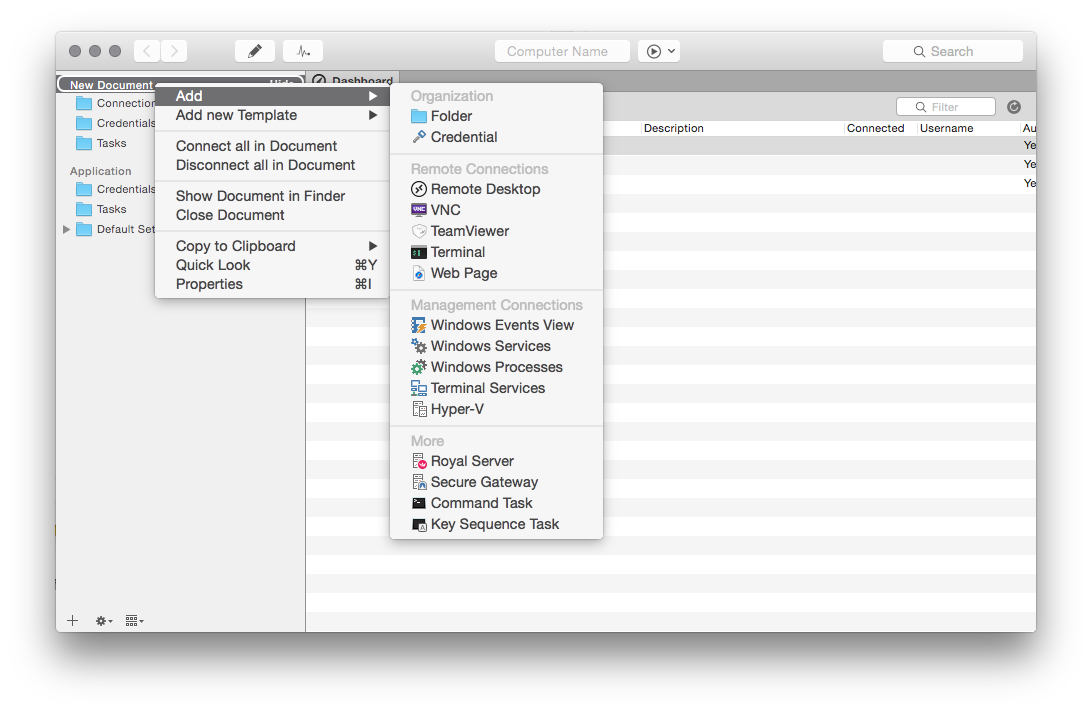
Simply add a new Hyper-V connection to your document using the “Add” -> “Hyper-V” menu entry:
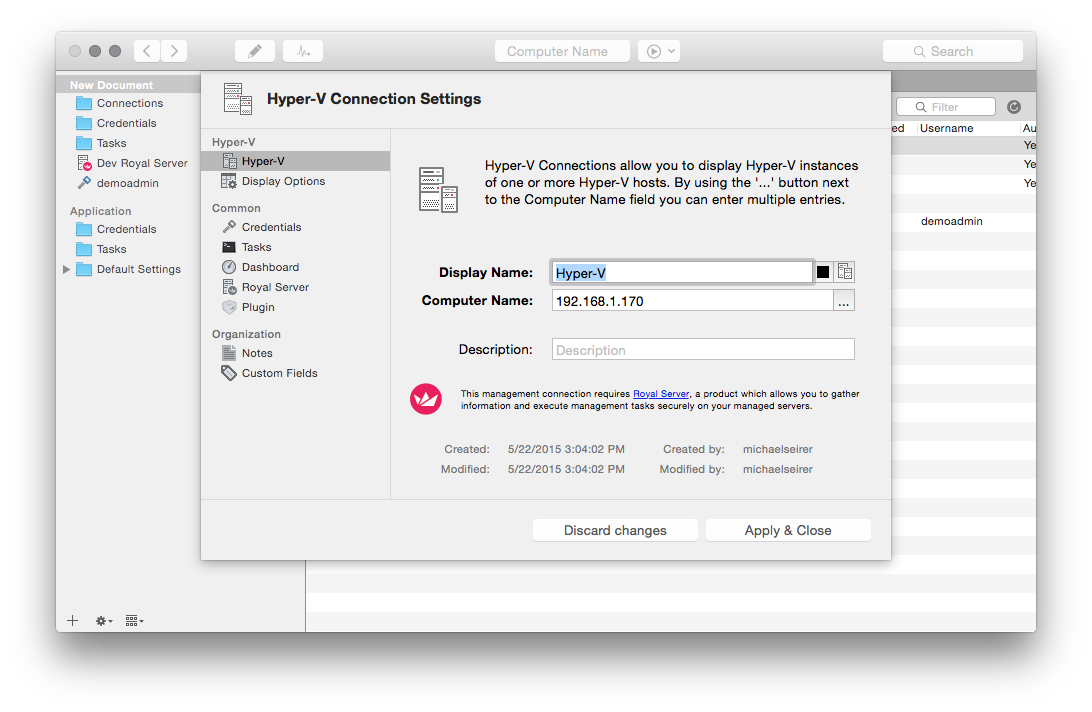
Configure the name, IP, etc.:
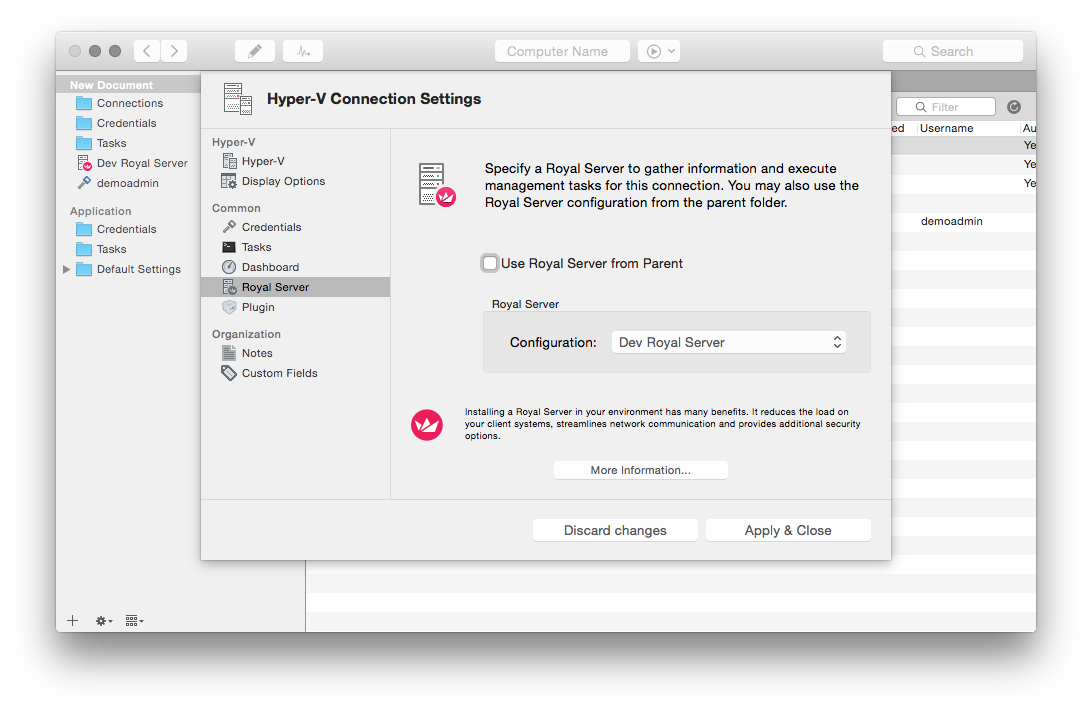
Since this Connection Type in Royal TSX is based on Royal Server, you will need to specify a Royal Server object:
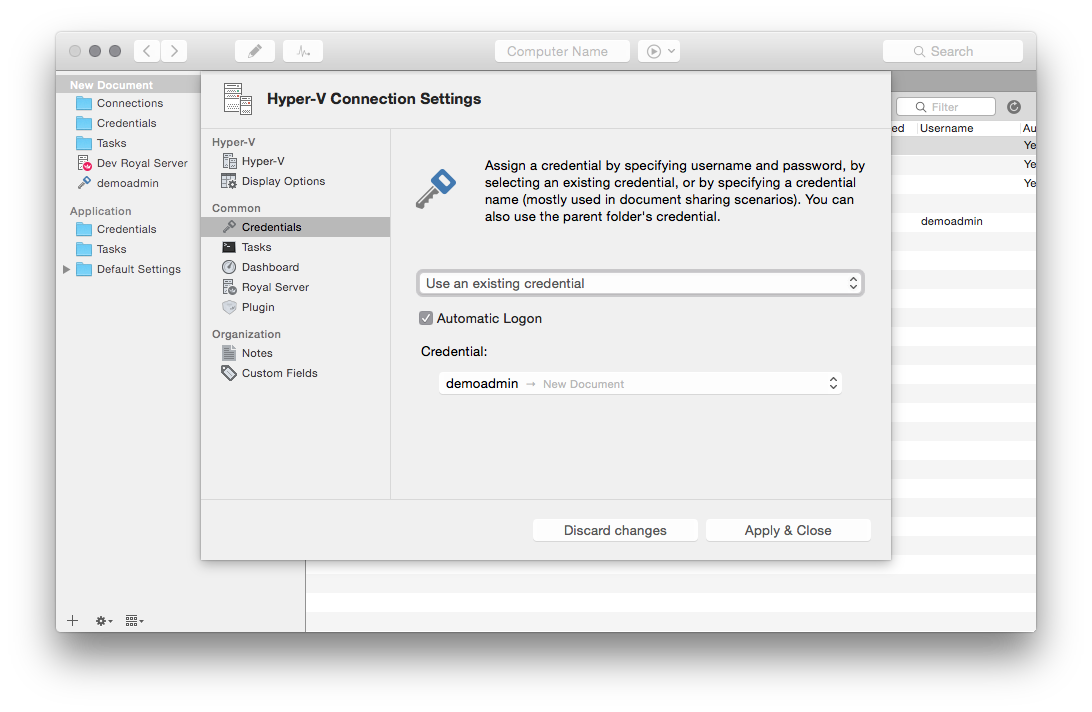
Make sure you have the correct credentials to access the remote system configured on the Hyper-V connection:
And you’re ready to go:
Based on the result and the state of the Hyper-V instance, you can also act on the instances directly from Royal TSX:
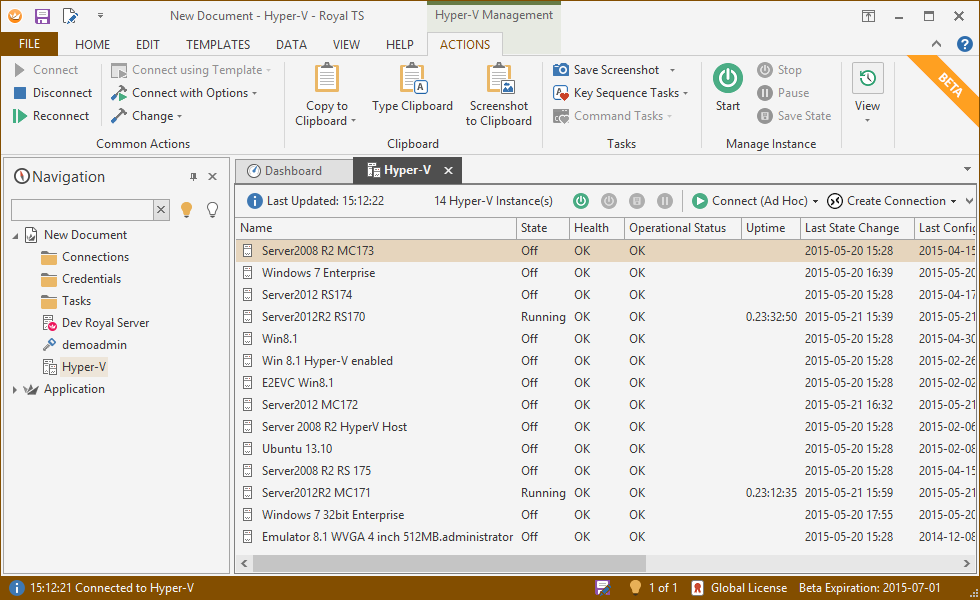
Of course, the same functionality is included in Royal TS (for Windows) V3:
Working with the same document in Royal TS (for Windows) V3 and Royal TSX (for OS X) V2
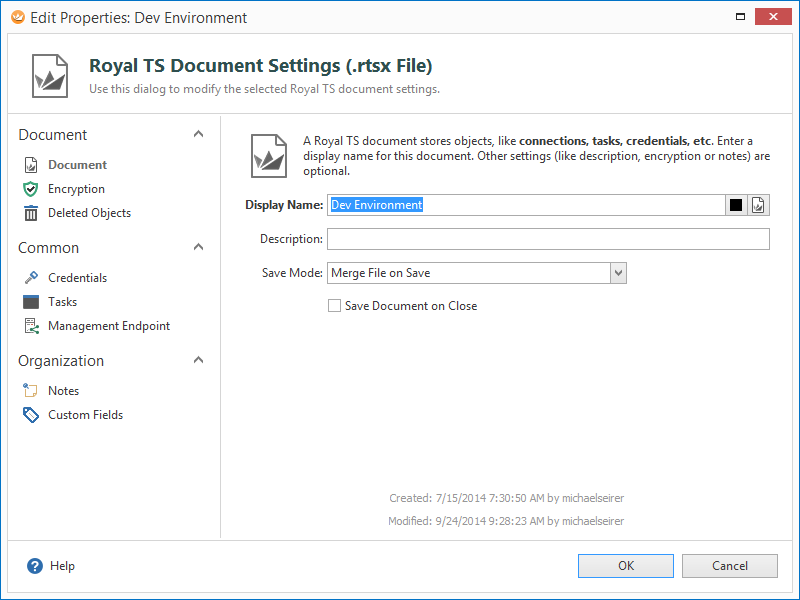
We made sure that you can use the exact same document in clients running on both platforms. They can use the same file even at the same time! Just make sure you have configured “Merge file on save” in the document settings.
“Direct Connect is not supported for this connection. Please assign a Royal Server to the connection”
You get this message in Royal TSX (for OS X) when you try to use a connection that has “Direct Connect (No Royal Server)” selected and that was saved with that setting in Royal TS V3 for Windows. In this case, choose a correctly configured Royal Server which points to a Royal Server installation. This setting works in Windows but does not in OS X (find a detailed explanation here). So if you want to fully share a document between platforms, make sure you have a working Royal Server installation configured that is accessible from both platforms.
